
Easy Steps to Install a Fire Sprinkler Head Guard
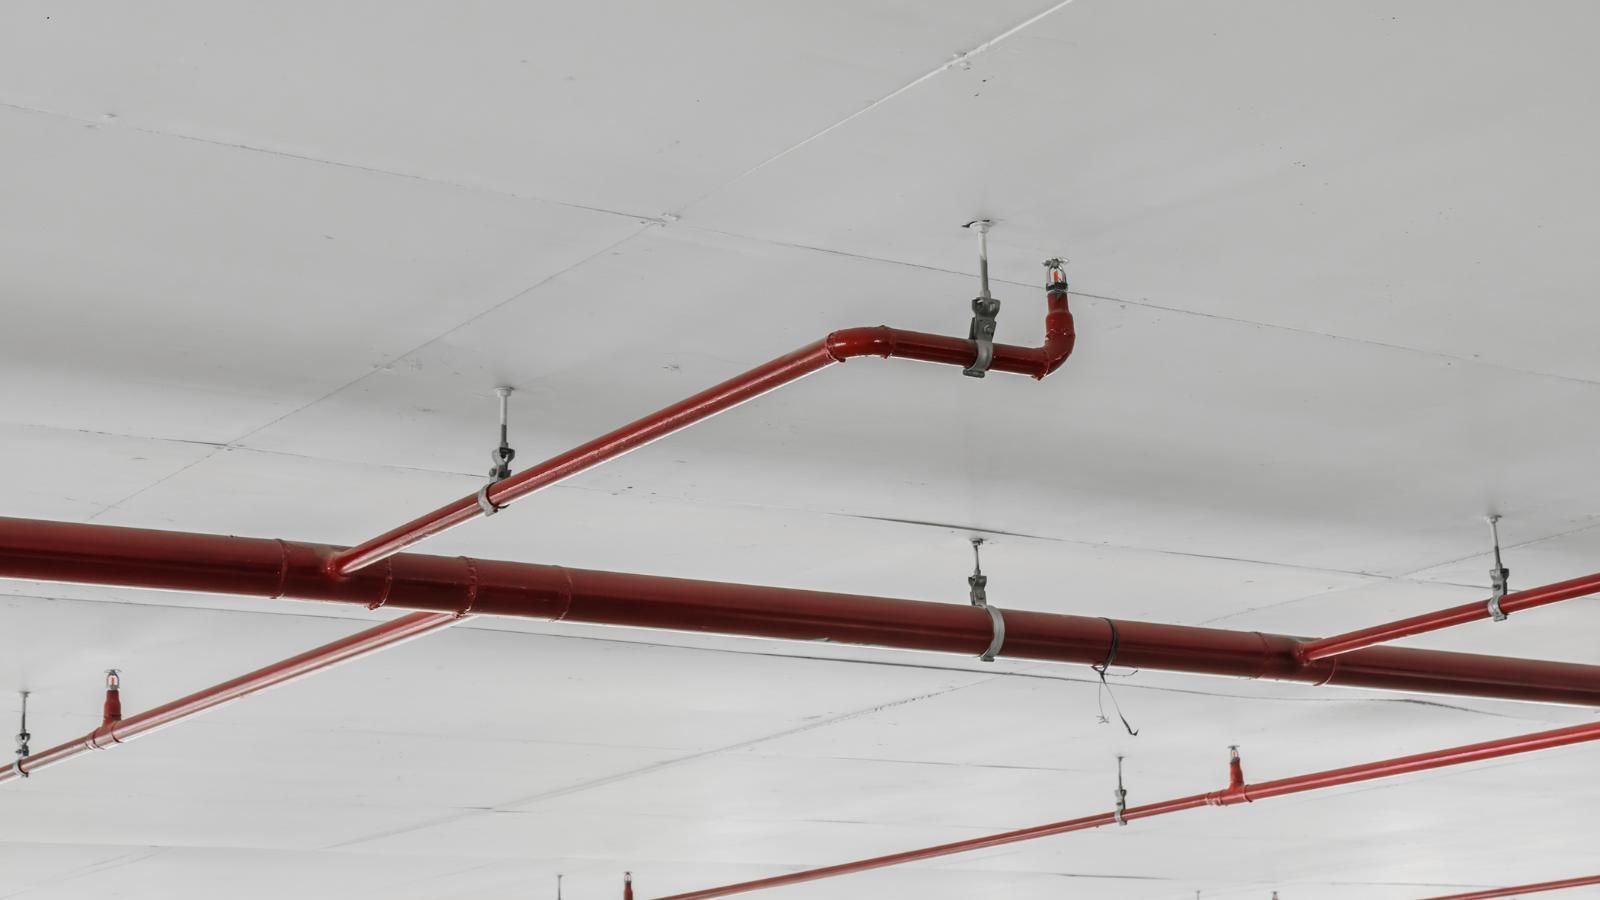
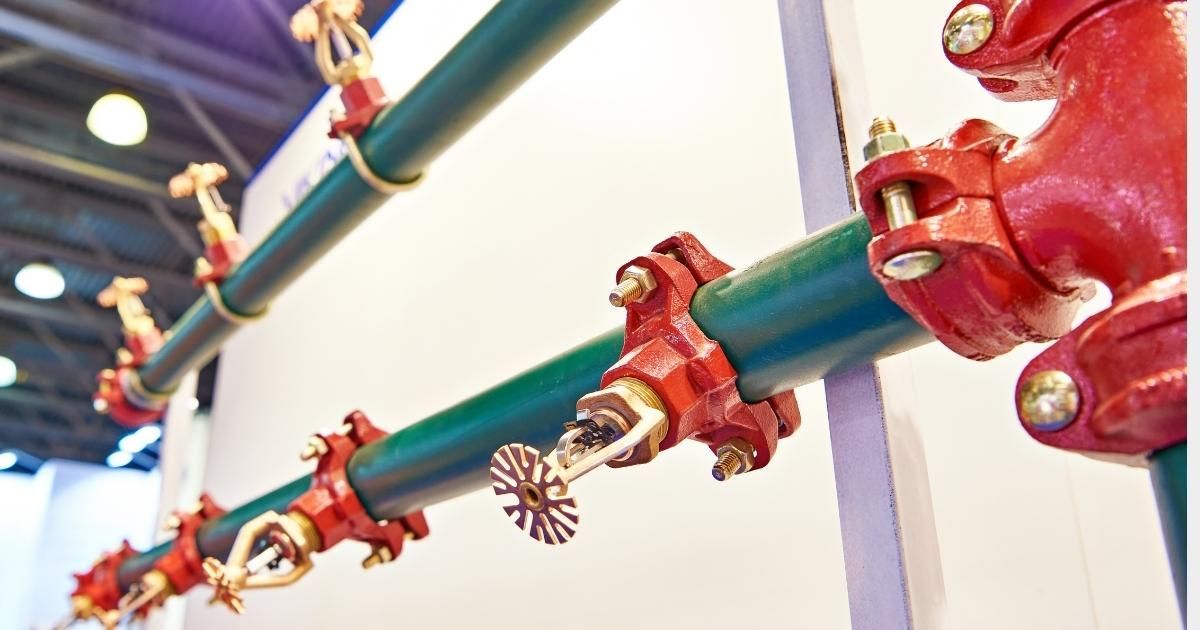
Commercial and industrial buildings require a certified fire sprinkler installation with ongoing maintenance to keep people and property safe. Often, sprinkler systems are damaged by stacked inventory, forklifts, or other moving equipment. To protect sprinkler heads from impact, sprinkler head guards (cage covers) are installed in high-traffic workspaces. A bent or broken guard can result in code violations and compromised fire protection.
Thankfully, replacing sprinkler head guards is a straightforward process. Just ensure the proper safety procedures (NFPA guidelines) are followed. Understand when a simple replacement will work, and when a licensed fire protection professional should be called to do the job.
In this post, we will cover:
Replacing a Sprinkler Head Guard Is Simple—If Done Correctly

The process to replace damaged sprinkler head cages involves three basic steps: safely detaching the old guard, inspecting the sprinkler head for signs of damage, and securely replacing the new guard according to the manufacturer’s instructions. Be aware, however, that accidental damage to the sprinkler head can activate the system or cause code compliance issues.
If you’re not qualified under NFPA 25 to inspect, test, or perform repairs on the sprinkler system, hire a licensed fire protection professional. Maintaining code compliance and protecting lives should take precedence over convenience.
Step 1: Detach the Old Sprinkler Head Cage Safely
Prep your work by clearing the area, and carefully remove the damaged sprinkler head cages without disturbing any system parts. The protective cages are attached around the sprinkler components, so they can be removed independently without disturbing the protected mechanisms.
Fire sprinklers are precision-engineered safety devices susceptible to minor alterations.
Excessive force (twisting, bending, or applying pressure to the sprinkler frame or deflector) can misalign the intricate system and cause accidental activation. Improper removal of sprinkler head guards can damage the sprinkler system, requiring a full sprinkler system replacement.
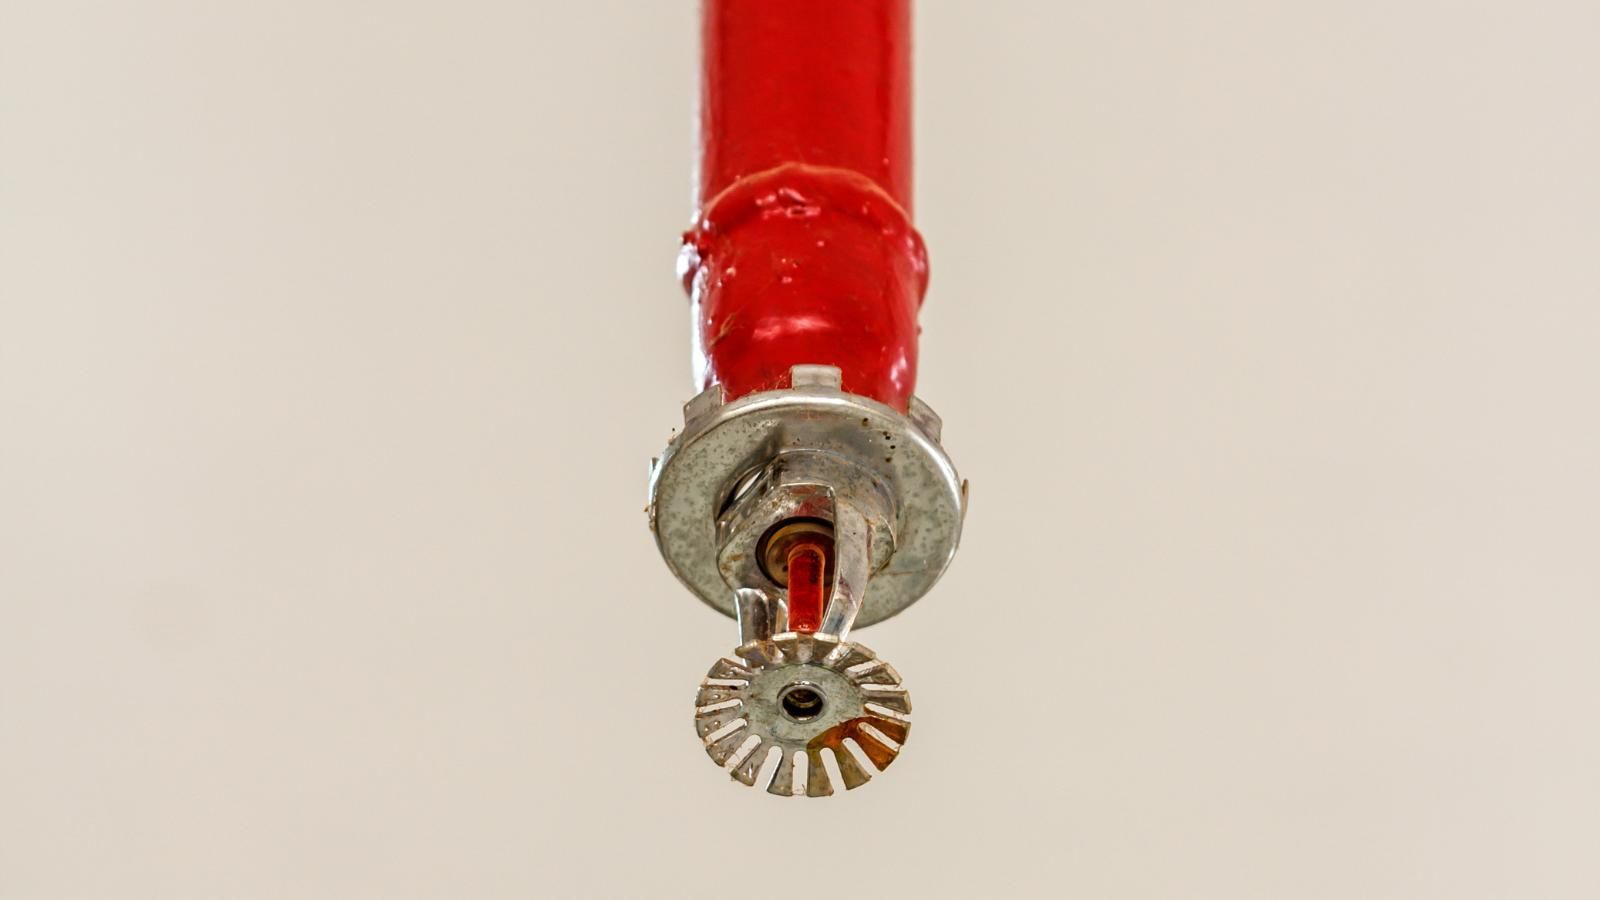
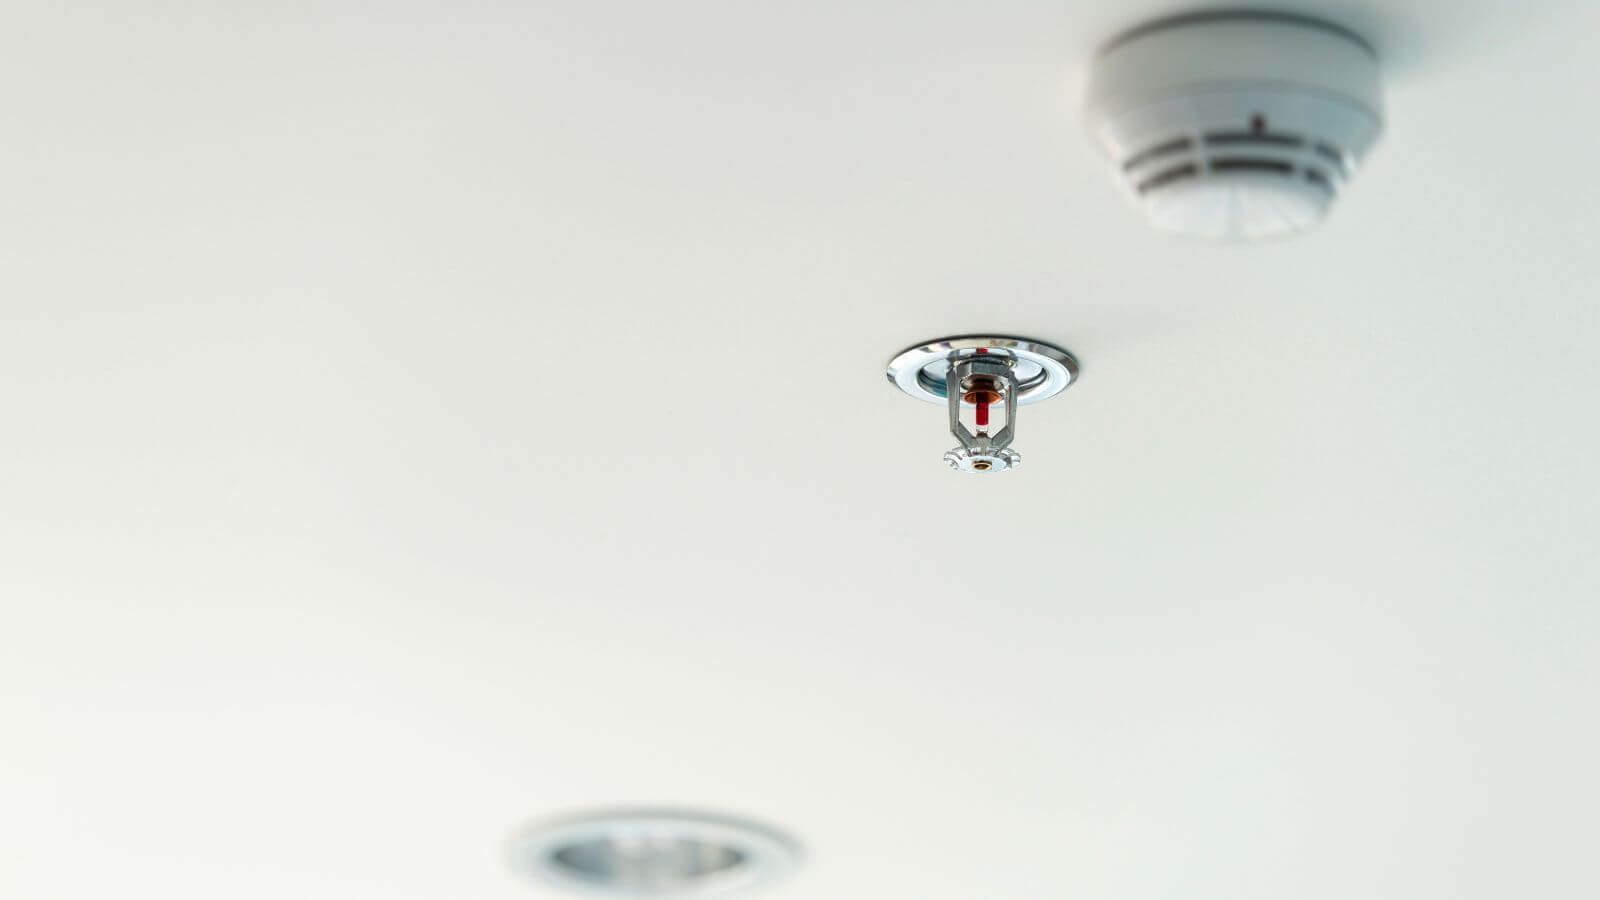
Step 2: Inspect the Fire Sprinkler for Damage
Before replacing the sprinkler cages, check for:
- Bent frame arms
- Cracks, discoloration, or damage to the glass bulb
- Corrosion
- Paint buildup
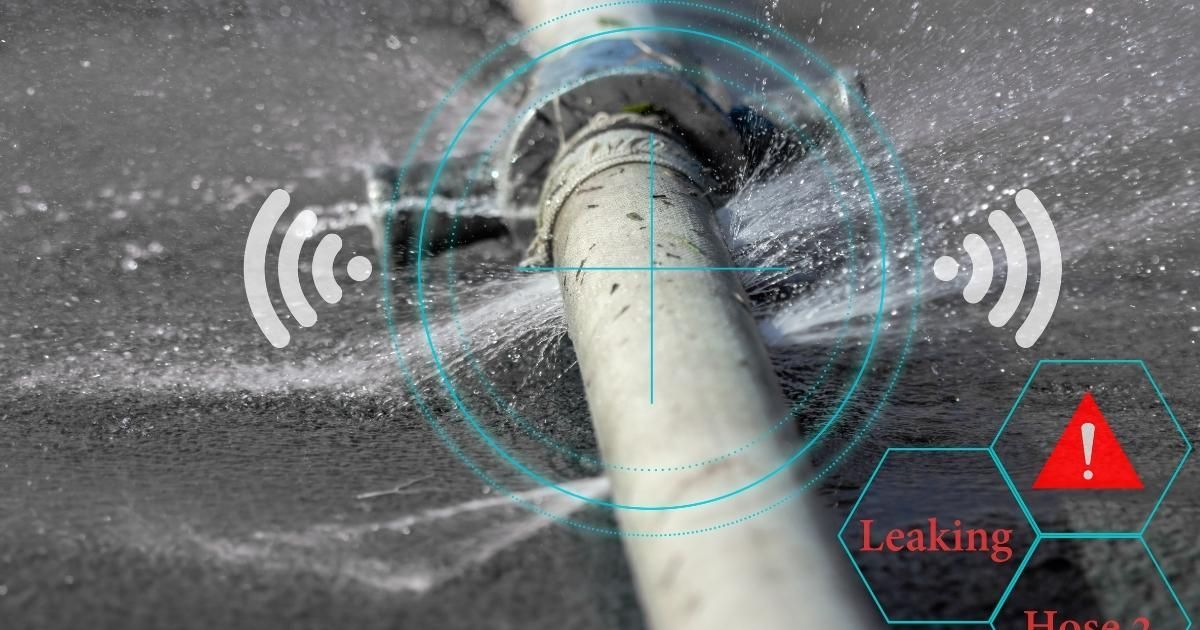
- Leaks
- Physical deformations around the sprinkler assembly
In busy commercial settings, damage to the sprinkler head cages often extends to other components also. Don’t be tempted to reuse a damaged part; install a new sprinkler head instead. Plugging sprinkler heads or capping off damaged sprinklers will lead to unwanted consequences. Regardless of what you may have heard or thought, it is not okay to cap off a sprinkler head. Only a licensed professional performing an approved system alteration should cap a sprinkler head.
If you discover damaged parts in your fire sprinkler system, it’s time to ensure code requirements are met by hiring a certified professional to make the repairs or replacements.
Step 3: Attach the New Sprinkler Guard per Manufacturer Instructions
Finally, install new sprinkler head guards according to the manufacturer's instructions. Not all sprinkler cage types are installed the same way, and following the directions ensures they function properly during an emergency. It’s particularly important to align and secure the new guard properly around the sprinkler assembly. When done correctly, the cage will fit evenly on the sprinkler frame, deflector, or glass bulb. When done incorrectly, crooked guards will shift, cause future issues, and may not perform well when needed.
Step 4: When to Call a Fire Protection Professional
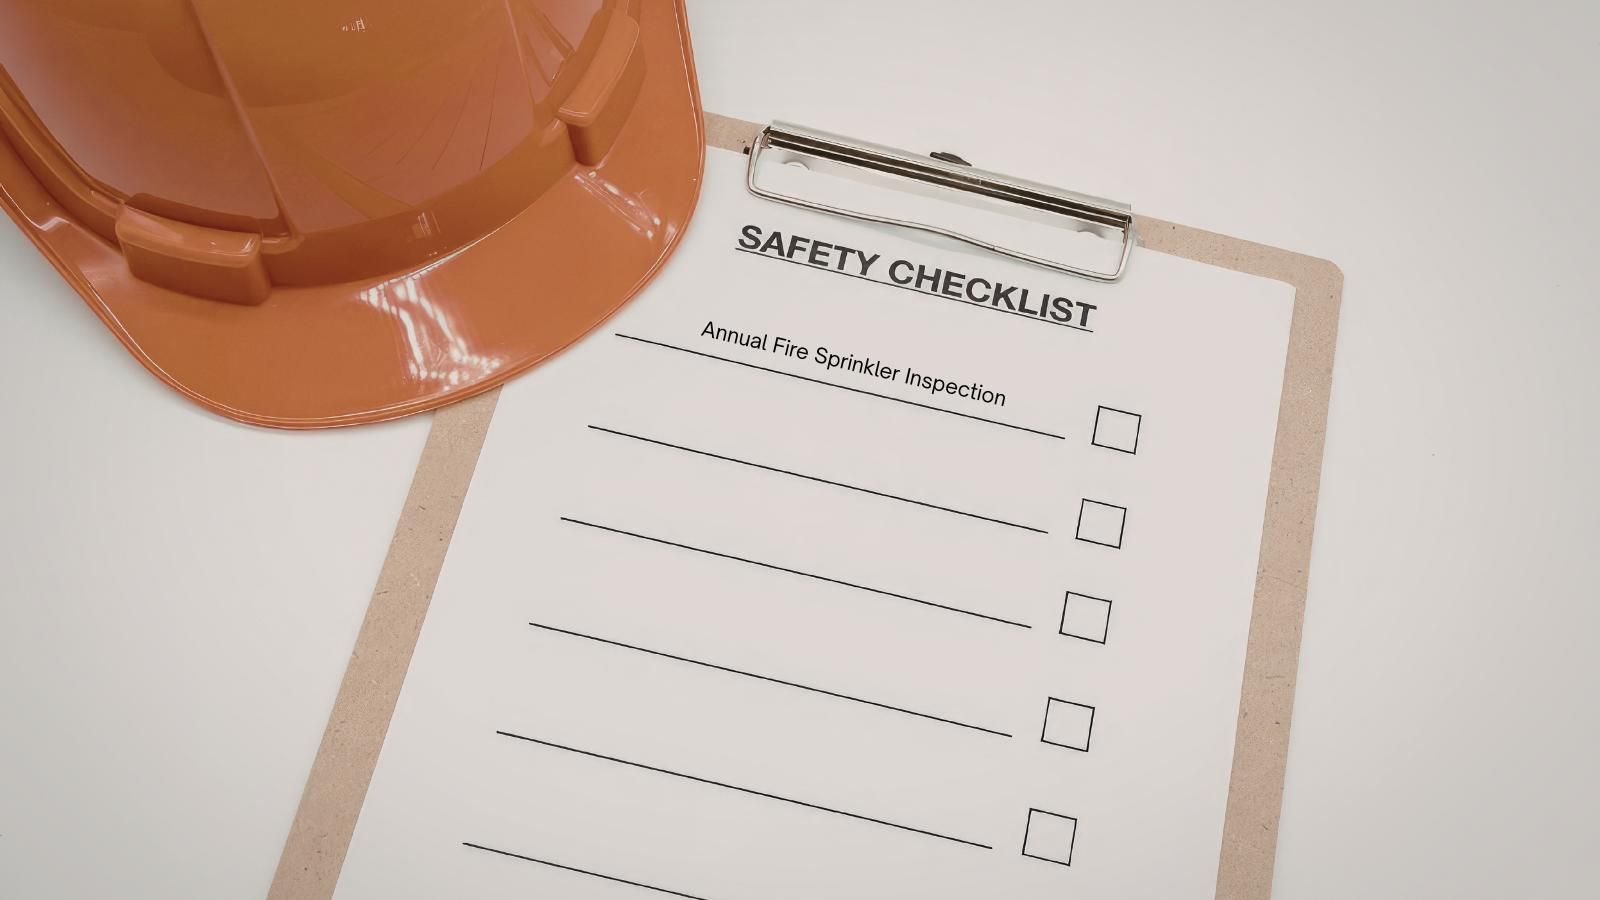
Replacing sprinkler head guards may seem simple, yet NFPA 25 requires that any work on fire sprinkler systems be performed by trained and experienced personnel. When you discover signs of damage, corrosion, leaks, or anything questionable, it’s best to call a licensed fire protection provider. Why take the risk of code violations, liability issues, or damage to people or property? It’s always worth it when safety and code compliance are at stake.
Can You Add or Modify Sprinkler Heads Yourself?
By now, you know adding or modifying sprinkler heads is not a DIY project, but many people ask about it. These changes involve hydraulic calculations, permits, inspections, and approval by local authorities. Hydraulic calculations are necessary because different setups require a specific amount of water and pressure to function optimally. Adding a sprinkler head or changing the piping affects the water flow. Hydraulic calculations ensure enough water gets where it needs to go in case of an emergency. The installation of sprinkler heads or modifications to sprinkler systems should always be handled by a licensed fire protection professional who is capable of designing, permitting, and testing the system in accordance with NFPA standards.
Protect Your Fire Sprinkler System the Right Way
Replacing sprinkler head cages involves three basic steps: safely removing the old guard without disturbing the sprinkler head, checking for signs of damage, and securing the new guard in place according to the manufacturer’s instructions. The process sounds straightforward, but a lot can go wrong. Unauthorized sprinkler head installations, repairs, or service can compromise your fire protection and code requirements. To remain compliant, NFPA 25 requires that a licensed fire protection professional handle service to your fire sprinkler system; it’s the right way to maintain safety.
GenX Fire Sprinklers LLC serves commercial and industrial property owners throughout the Kansas City area on both sides of the state line with professional, code-compliant fire protection services. Whether you need certified replacements for sprinkler head guards, expert system evaluations, or fire sprinkler modifications, our reliable team is here to help.
Contact
GenX Fire Sprinklers LLC today to schedule service and keep your fire protection system code-compliant and safe.